Pages

Showing posts with label Tackle it Tuesday. Show all posts

Monday, June 13, 2011

Oven Window Cleaning

I finally did it! Last Tuesday at Amy's link party I read Ask Anna's post on cleaning the oven window and thought about mine.  Before showing you the embarrassing pictures, I want to say that it does not work trying to justify my laziness such as I don't like to cook, hence not cleaning the oven window as often as I should.  You see, the consequence of not cleaning it on a regular basis is the build-up I had to endure looking at every time I used the oven.  My daughter-in-law is a great oven cleaning person, she has told me in the past that she uses salt (I think with some water, too) and a razor blade to clean her oven and her oven always look clean even if the rest of her house is not.  Anna's method seemed easier and faster, so I wanted to give Anna's method a try first...


 Ahem... just close your eyes for the "before" picture...

1/2 cup of baking soda and about 3/4 cup of water.

 Stir it into a paste form.

 Cover the window with the paste.

 20 minutes later... Did not seem like they are coming off at all... 

 Maybe if I put some salt on the surface and cover it with the BS paste for another 30 minutes?

 30 minutes came and went. ur-oh, guess the baked-on has somehow sipped in between the window glass panes. Nightmare.

 Did the unthinkable.  I unscrewed the oven door cover - something I probably should not do. However, since I am some what mechanically inclined so I took the chance, snapping pictures as I go, to ensure that I would remember how to put the door back together. Guess what I found out?  The baked-on is on the outside of the window pane, not the inside! Put the door back together - took me almost 45 minutes as I was not strong enough to keep the door snap back together and locked it in place before putting the screws back on. Glad I fixed it before Robert got home from work.

 Now that I realized where the grease lay, I had but to sit down and scraped it with the little knife I have.

 A bit more salt on the wet surface and rubbed it with a half-wet paper towel and the green scrubby (gently) in a circle motion... Yes, I used paper towel for this job, as I was not sure how many clothes I would need to trash after the job.

 It worked!  Except it took a loooong time with that knife...

 Ran to the Dollar store and got these blades...

Couldn't believe my eyes.  The extremely thin razor blade picked up all the gunk I once thought was impossible. It did take some time, but I was willing because I was having a heart troubling matter in my mind that I needed to bring before the Lord, so I used that tedious labor as a time to meditate on the situation and asked the Lord to help me solve the problem.

 Wow, look at the sparkling clean oven window! As for the prayer part, the Lord had caused me to be still while He brought forth the peaceful ending of the heart wrenching struggle.  A clean oven window and a trouble free heart. You are so good to me. Thank you, Lord.


Anna's method would work, I think, if the baked-on of my oven window was not so ingrained.  But with the length of time I had left the bake-on sat, the combining process of baking soda/water and salt/razor did the trick. Thank you, Anna and Emma!

Again, before...

After.


~ This post is linked to Amy's Tuesday's AP link party
~ And Wednesday's Raising Homemaker link party

Tuesday, January 25, 2011

Tackle It Tuesday: Coat Closet Turned My Space

We live in a part of the state that is never really cold enough to wear coats.  A thick jacket will do just fine if you are at the beach in "winter time".  So with the coat closet we have in our condo, it naturally became a place where it houses everything except the coats (same story with the glove compartments in our cars).  I have tried to make it work as a business office or other before but it always ended up being a dumping closet.  I lived with it for years and it bothered me for years.

Mind you, I have re-organized it many times over, and eventually it still returned to its dumping ground stage. 

I know what is the root problem but just did not want to face it.  I don't have a junk drawer, I have a junk closet.  Stuff in there are waiting for a permanent home. 

I think the last time I re-organized it was before Peter's birth.  Three years.  Sigh.  It is screaming for another make-over, badly.

So, here we go again, except this time, I asked for a "desk" to be put in it.  I want to make it my little homeschooling office where I can close the door when the day is over.  I started this project last week and am planning on finishing the mess by this weekend.

I have an armour as an office right now, but because of our small space, the armour is becoming more and more of an obstacles instead of a working space.

 Besides, I am ready for a change.

Before - what a mess!

I don't have any boxes for sorting, so I use my good old paper bags.

Labeled the bags and started pulling stuff out of the closet and sorting them.

When  dinner time was here and we needed to use our dinning table, I moved the bags to the staircases.

While cleaning out the papers, I found Joshua's school keepsake envelope I made for him.

and Erik's too.  I don't know what happened to Christine's...

Until they left home, your children are not too old to make hand prints for you. :)  I treasure this one so much.  It brought back memories of days gone by when Erik was trying to be taller than me and that his hands would be bigger than mine.  They are much bigger than mine now.

Taking shape...
We bought a piece of glass, a piece of good quality plywood and two supporting brackets at Lowe's.  Total cost: $34.00.  It would have cost much more if we chose the Plexiglas.  I have that piece of fabric from a long time ago (part of a VBS costume), and I placed the fabric between the glass and the wood.

Adding pictures of my beloved family to it!  I can change the "background" fabric anytime I want to.  Love it!


Put my "essentials" on top of my new desk.  I was very disappointed for not being able to remove the black poles at this time. So I tried to dress up the wall a bit with a card.  It is not exactly how I want it yet but it will be, one day.

My MIL Liz sent the prettiest cards to me.
My stationary/writing tower.

It is done - for now.  it looks sort of busy with the stripe fabric though..., I will continue to tweak it until I am happy with it.

I found this cute little stick-on clip...

It may be a solution to hide those two black poles.... I mean with a whole bunch of them lined up there... Hmmm...

Under the desk behind the fabric - my plastic drawers where I store all of my extra office supplies. :)

My English-Chinese dictionary.  I carried it with me through my entire high school years.  Tough time, sweet time.

My Space.

~ ♥ ♥ ♥ ~


  ~This post is linked to Amy's AP Tuesday

Tuesday, January 18, 2011

Tackle It Tuesday: Pantry

I was never quite sure about the location of my pantry.  It is under the staircases in the wall of my kitchen.

Its size also is not what I consider ideal as a pantry.  It is deep, wide and low.  I am tall, I have to stoop down to get the items every time.  It got old fast.

But, I am thankful none the less, to have a pantry.  Many bloggers' home have hardly any storage units.  Counting my blessings again. :)

Another interesting thing I noticed with my pantry is that the contents in it have changed drastically from the time I was a coupon queen to when we started eating healthily years ago.  I have less and less canned food.  We try to eat fresh or frozen vegetables as much as we can.  I am going to look into soaking my beans, too, so that I can eliminate the canned beans as well.  Things like olives I can't do much about or some other items like tomato paste (I tried to make my own and was not successful), I buy them but not stocking them.  Since I don't use coupons much any more, I let the grocery store be my pantry.  I only shop what I need for the next 2 - 3 weeks at a time, very selectively.  Doing so has helped us avoid the trap of expired canned good and the precious space we saved and the time we spend on its maintenance.

Because of not having to stock up items like I used to, I had neglected my pantry, not to a degree that it became filthy or anything, but I just DON'T clean it.  We rearrange the pantry every now and then, but no major cleaning.  Since I am thinking about getting back to my backlog of projects and also because I have a rekindled inspirations about my home care through reading some wonderful Christian devotionals and Courtney's blog, I decided to restart my Tackle It Tuesday by first cleaning out the pantry, and all I can say is: it is about time! :)

 Interesting location isn't it?

 Before - Like I said, it does not even look like it needs a clean up job, but I know better.

I will change the lining next time.  I am not spending any money right now.  We have to be careful with our spending through this jobless winter of our life.  There are a few projects I would like to accomplish once our financial situation gets better.

After - May not seem like a big difference to the outsiders, but to me, it is much more organized and I feel like I can sleep better....
**See those two boxes of Crafts Mac & Cheese?  That's the birthday boy's lunch request on his special day - the only day he could eat "junk" in my house. LOL!

This post is linking up at Amy's AP Tuesday link parties


Monday, August 23, 2010

The Basic Plan

This was one of my summer goals.  I am so happy that it was done - one week before we start school. 

When I shown the plan to Robert, he was ecstatic.  If I would have known that he is that much into this plan, I would have done it sooner.
Saturday was the first day we tested the plan and already, we had to edit the plan a bit and added a few more monthly things on the Saturday page that I did not think of before.  What was great is that Robert liked it so much that he wanted to continue to the next Saturday's tasks to "stay ahead" said he. (!) I explained to him the reason that the monthly tasks were spread out is so that we won't get burn out again and ditch the plan, "Got ya!" he said,.  We then wrapped up the day and had a nice evening of family time.

The plan did give us a sense of accomplishment at the end of a day, which works for our family at this point in our lives.

However, I know (from past experience) that there will be days in a row that we would "mess up", when that happens, we just need to be sure to stick to the calendar, which has all of the outside commitments/activities and just do what is written there.

This is our test drive week for the plan, it will be interesting to see how it went by the end of the week.

Bottom line, the plan is here to serve us, not the other way around.

This is in the order of importance of the whole plan:
The calendar
The "To Do" notebook
The menu - here and here
Evening Routine
Morning Routine
Basic Weekly Plan

I also noticed that if I have the calendar, The "To Do" notebook and the Home Management binder next to each other, things go much smoother.


~ Linked to Amy's AP party
                                                                                                

Tuesday, August 17, 2010

School Calendar

It is done!  I have been wanting to get this done since the beginning of August.  Now I only need to get on with my daily lesson schedule then we are ready to begin our next school year.

Today is one of those very busy days so this post is short.

Got to run.  Have a great rest of Tuesday!

I blurred the picture for privacy reason.  It is color coded so we know who has what outside school activities even from far away.  I really like this Real Simple brand calendar.  This is our second year using this style calendar.  The stickers are removable so if plan changes we just move the stickers around.  Works for me!

Tuesday, August 10, 2010

Tackle it Tuesday: Almost back to school

August is almost half gone.  Unbelievable.  School days are just around the corner.  Actually, Christine has already started her school time back in August 2nd.  Since she is a VERY independent student, it has not affected my daily schedule too much, except the fact that we don't get to see her happy face down stairs much since then.

I needed to get Joshua's curriculum ready and today was the day I decided to tackle it.  The boxes have been sitting there (sort of out of sight - I made sure of it) for a while, patiently waiting for me to open them.

I pulled all the books out from the shipping boxes and stacked the textbooks up by subjects.  After that, I cleared out the old books of a homeschooling material shelf and put the new books up there.  In the past, I would just line the books against each up on the shelf (by subject), this year though, I remember the black magazine holders my friend gave me so I got them out and cleaned them up, put the books, again, by subject, into each of the holders.  After I organized the holders on the shelf, I labeled them for easy retrieval.

It was a fairly simple project, but it was put on the back burner too long.  I am glad it is done now.

I have two more things to do before we can start school - Lesson plan and my school calendar.

Hope to get them done by next Tuesday!


~ This post is linked to Amy's AP Tuesday's link party.

Friday, June 4, 2010

Tackle it Tuesday: Fire Starter Logs


My computer is back on. Yay!  I want to catch up on my posting, especially the Anti-Procrastination post at Amy's as it is a commitment I made for myself to get all of my project backlog taken care of this year.

So here is my Tuesday post even though it is a Friday. :) 

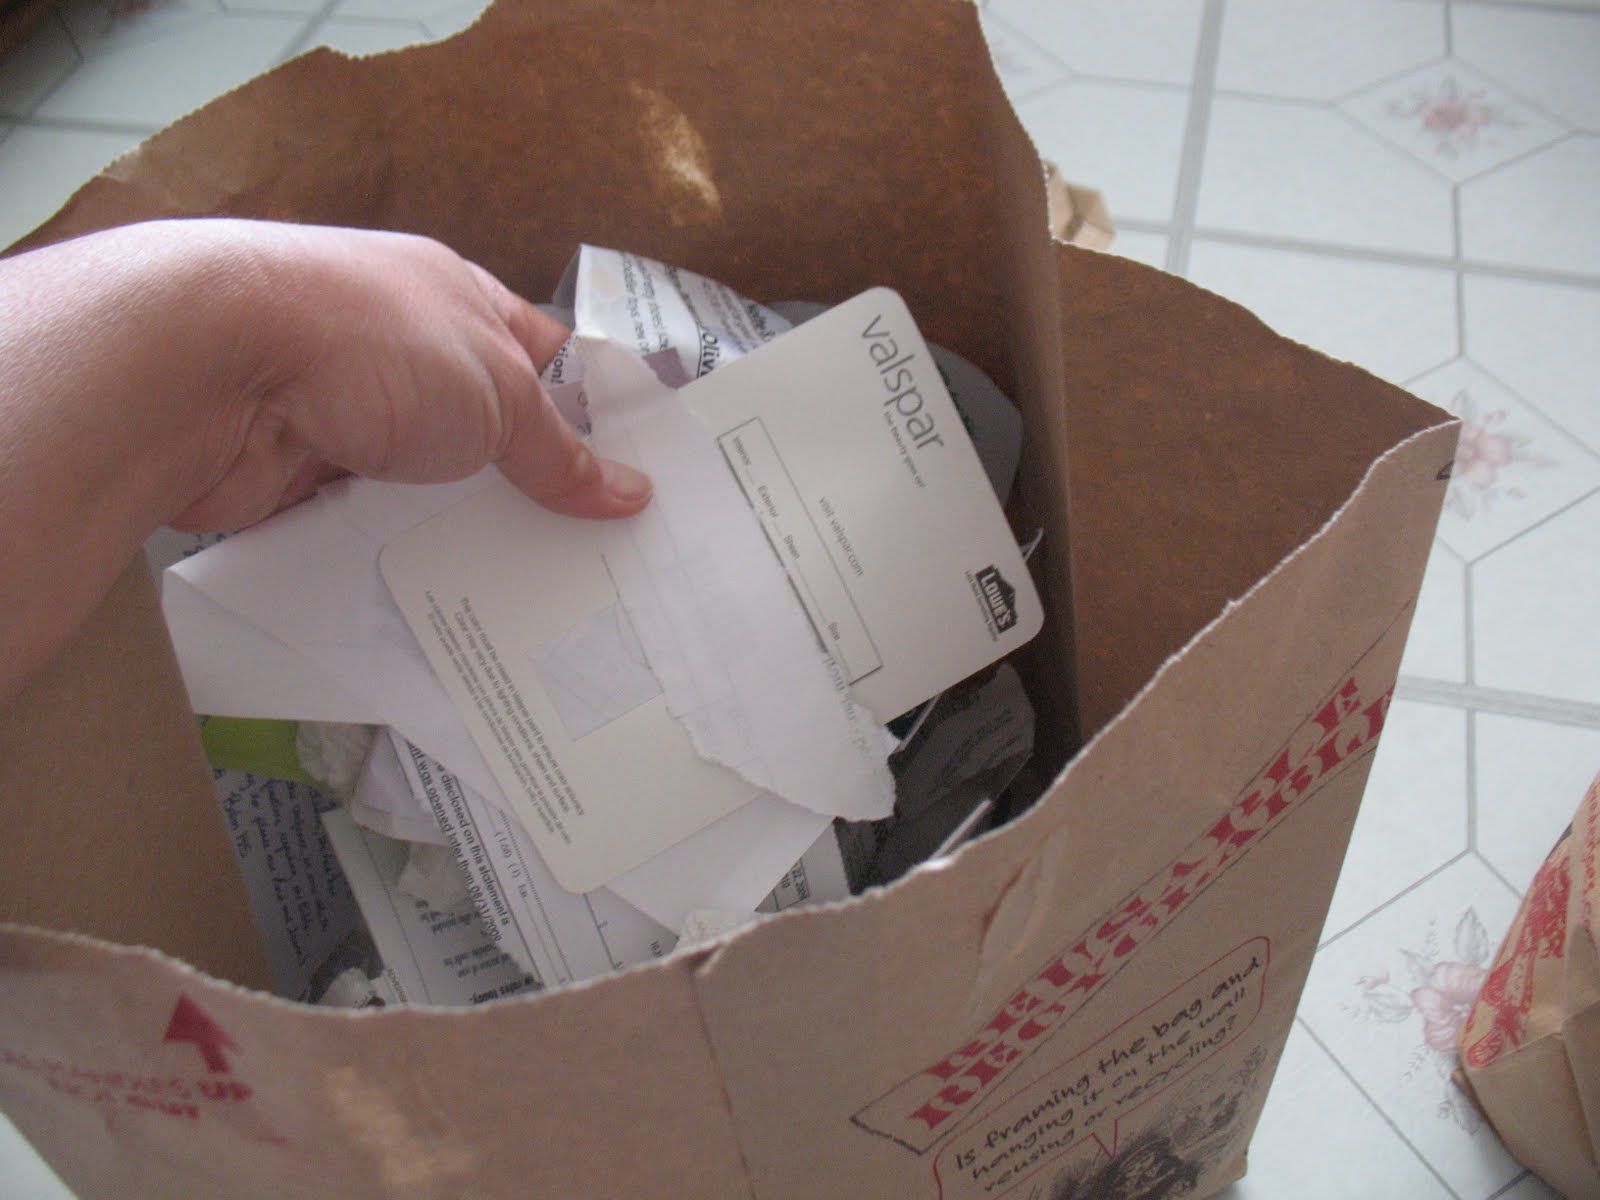
It has been almost a year now and I had enough of the "to be shredded" papers to make some fire starter logs!  We like to camp so these come in very handy when we could not find twigs to get the camp fire started.

Here is how I roll them:

Another way to recycle my paper bags. Love it!

I grabbed a bundle of the "to be shredded (or burnt in this case)" paper and put them into a bag.

This bag has handles, I just rip off one end on each side.  I did make sure it is the opposite direction as shown. (Thank you, my assistant Josh :)) 

* If it is a handle less bag, I just roll it and seal it with a piece of tape.


Start rolling, from bottom to top.


Here is where the little fancy play comes in.  I wrap the handle around the log...


and taped it down tight with the scotch tape.


I put two tapes for a more secure seal.


I let Joshua show you the other wrap as I am holding the camera...


Tape it down!  Good job Josh!


Turn it over, doesn't it look like a cute little fire log?


I have enough scrap to make five logs today.


So glad to have this tackled!  One more project down, 39, or 49 more to go.... Just kidding!


I think I may have enough papers to make a couple more before the family head out for a camping trip (whenever it will be).  This had worked well in the past for us so the kids naturally get excited whenever they see mom comes in the house with a bag full of "to be shredded/burnt" paper scrap.  They can smell the camp fire already!