
Today I decided it is time to make the Menu System I have been thinking of for a while. What has been the culprit of the procrastination on this?
Time.
I needed a block of time to do this without feeling rush or guilty. Since school is winding down, I was delighted to find a block of time this morning to finally tackle this project.

Very simple materials - Three color papers of your choice and a piece of white. Shipping tape and a pair of scissors.

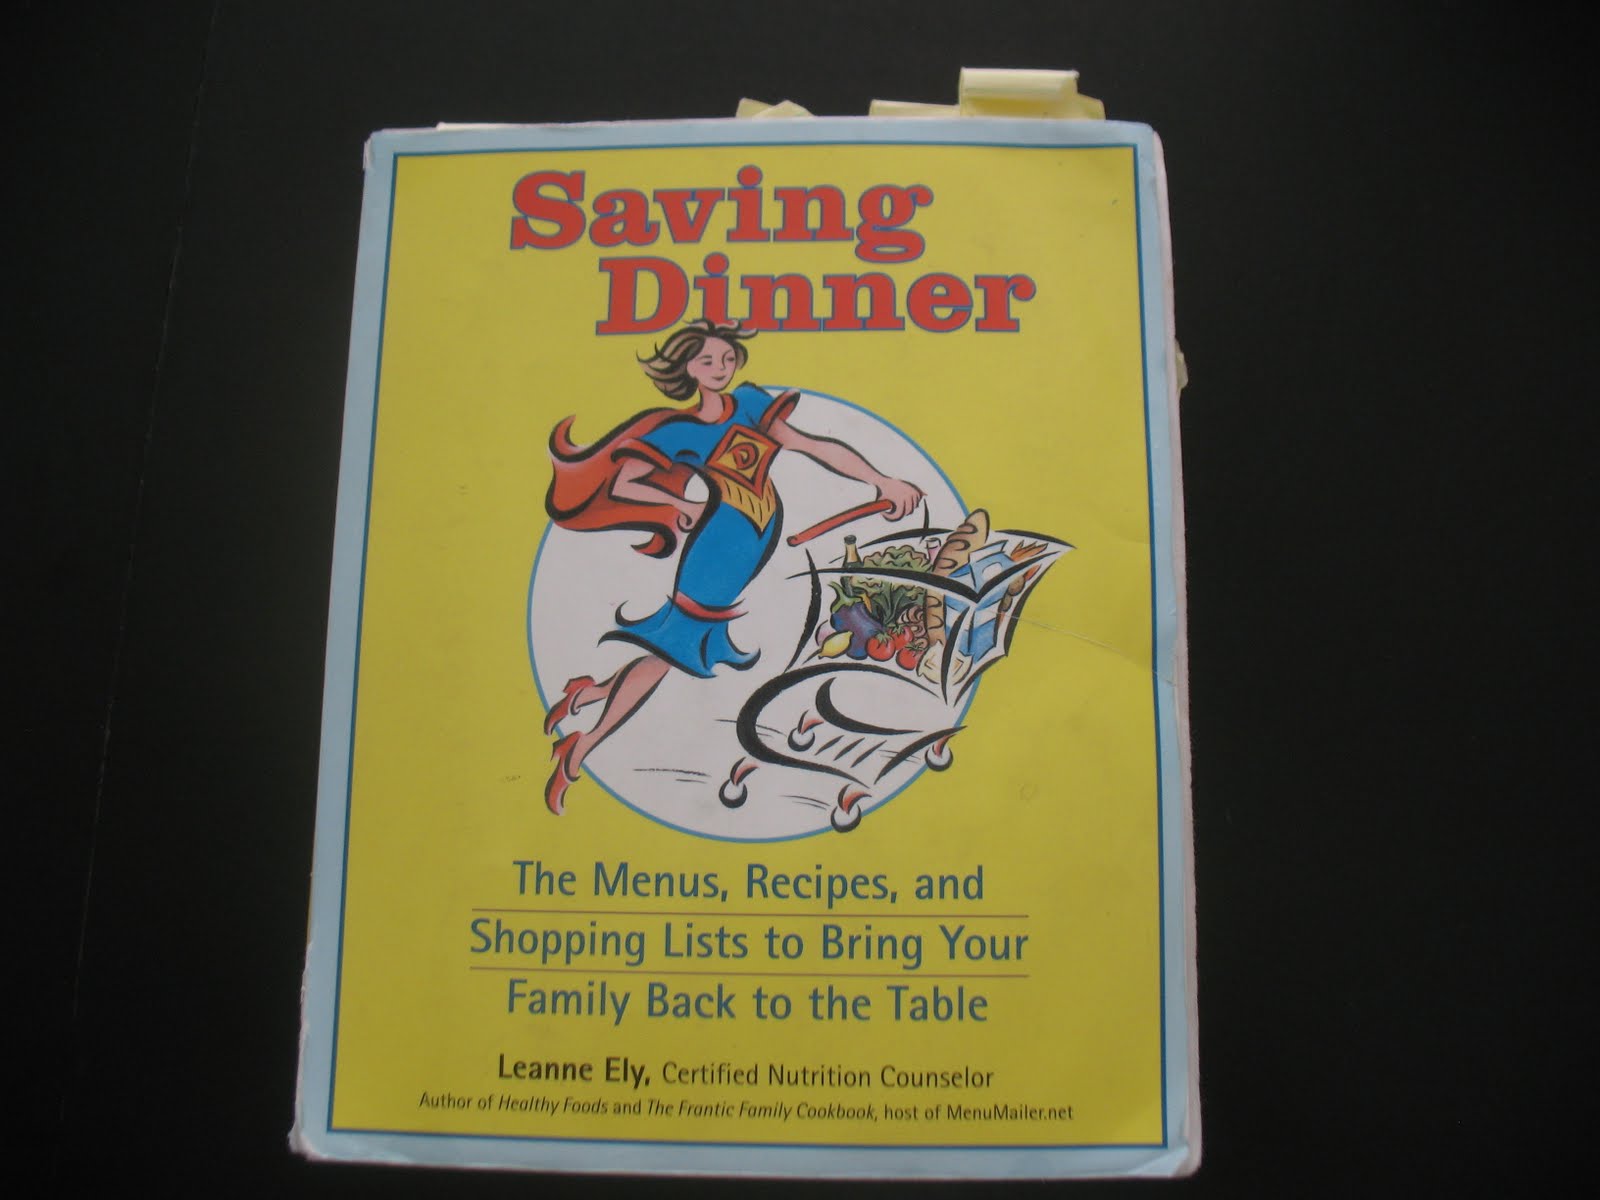
First I created the menu choice of our family's favorite recipes and some new ones using the spread sheet. The SD stands for Saving Dinner - the cookbook I use often.

Then I printed them out ~ Breakfast, Lunch and Dinner.

Here is where the shipping tape came in to play. I did some homemade lamination using the tape. Just cut and tape the strips on both sides...

Then cut the squares (I call them Peels) up.

I only took pictures of the dinner Peels but you can imagine the breakfast and lunch ones, right? :)

When I printed out the "base board", I remember I have these pouches (too late for my color strips), so I used this on the white paper. I really like the result. It feels very sturdy.

For the adhesives, you can use any stickies that are removable. I happen to have tons of these photo squares so I used them.

Peeled off the backings.

Stick my Peels on the Menu Board. If we change our mind on certain choice, we can just switch it by peeling the choice off and stick on a new one, hence the name Peels for these squares. The stars on some of the dinner Peels meant we REALLY like the recipes and they are here to stay.

Place it next to my shopping list. Do you like the magnets? Joshua added the "My". :)
Here is how I use the system;
1) Everyone pick their Peel choices
2) Look through the recipes (Most of my recipes came from this book)
3) Highlight the items needed for the recipes on the shopping list next to the board
4) Go shopping and prepare the meals

The extra Peels are stored in the back of the board so they are all there in one piece of paper (I just put a photo square on the back of each Peel). Note that I have some blank Peels? They are for something new we want to try first before making them permanent Peels.
I will be changing my favorite recipes according to the season we are in. I will probably store the off season Peels in a sandwich Ziploc bag and put them in a kitchen drawer near by for easy access.


4 comments:
OK, my husband told me not to post a comment because he was afraid I would scare you.. LOL :)
I just wanted to say, as a busy mom of five, your blog might just be my new favorite blog! YOU HAVE THE BEST IDEAS!
I love all of your ideas.
Even hubby was impressed with your menu idea.
I have been reading through your blog for about an hour. So much good stuff. Thank you!!
awesome!! great job!!
Julie and Nikki,
Thank you for the encouraging comments. :)
Julie,
I am honored that you actually read my blog for that length of time! I checked out your blog and hey, congratulations on your coming soon baby girl! I was going to name Peter "Ellie Grace" if he were to be a girl. I like the name grace.
I guess I should mention that I don't usually have that much time to sit and read, but my husband was hanging out with the kids and wanted me to rest and read for awhile. It had been a long day. :)
Thanks for the congratulations. Her name was actually supposed to be Mary Ruth after my grandmother but God gave us another name for her. Lily means pure. So she is our Pure Grace! :)
Post a Comment